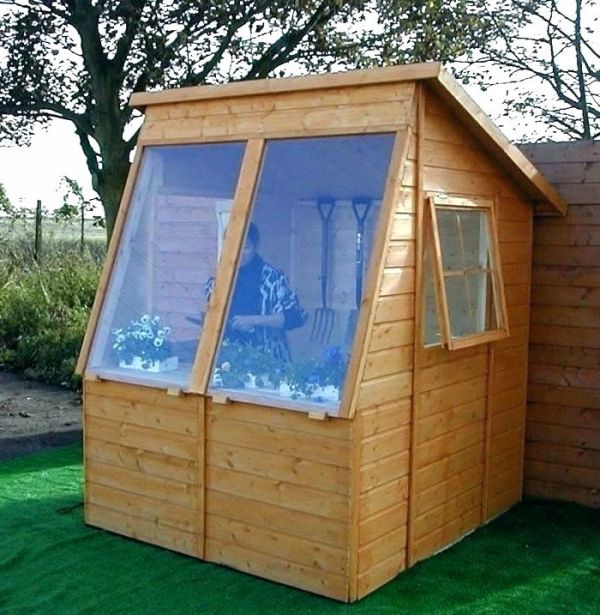
Garden Clerestory Shed Draft Designs 8x12 - Identify Solutions To Construct A Shed Easily
Roof trusses help because not only do they support its roof but they also stabilize the walls. A great tip is to first build roof trusses on the floor and then raise each truss into position after the walls are up. During build-up be sure that there is no chance of rain so that none of your work gets wet during the process. If you frame your roof one rafter at a time you will spend half the day crawling up and down ladders. Many manufacturers carry trusses that are already assembled which will spare you time.
Roof trusses consist of a prefabricated assembly of two rafters fastened (https://shedconstructionplans.com/8x12-clerestory-shed-plans) to a ceiling joist. For maximum durability all trusses should fastened with support plates made of plywood. When placing the trusses in your roof you should place them over wall studs. Manufactured roof trusses in standard sizes are inexpensive and easy to use. Call your local lumberyard for prices and options regarding roof trusses.
You will need to install power in your shed as it not very practical to run an extension cable to it from your home every time you need power. The number one rule when working with wire and electricity is to be safe. Easy and especially safe cables to use when running electricity are steel wired cables or SWA. If you don’t want an ugly cable snaking its way along your outhouse you can run it underground. Choosing to bury your wiring requires that you place it a minimum of 3 feet underground.
Try adding solar panels in order to either replace electrical wires or to supplement your power. Direct light must reach the solar panel for most of the day in order to provide sufficient energy. Buy roof mounts for your solar panel to help you easily affix it to the outhouse’s roof. When running the cable from the solar panel be sure that it is not cruouthouse or bent. Wind turbines can also be a useful source of power for any outbuilding when there is less solar power available.

Insulation can be harsh to work with so always wear a dust mask and gloves. First find the dimensions of the inside of the walls starting from the floor (pop over to this web-site) to the ceiling. A type of starter lining called an airflow barrier is basically just a piece of fabricated plastic. Anyone can install plastic lining plus it is really simple to handle. The treated plastic keeps the inside of the shed warm while blocking any cold drafts. To install you simply need to wrap sheets of the air barrier around the interior walls of the shed and tack in place.
If your outdoor outbuilding building blueprints ask for more insulation and padding the airflow barrier works well as a foundation. To guard against gases and other vapors it is a good idea to use fiberglass insulation. Using fiberglass requires that you cover it with another layer as it is irritating to the skin. You can conceal the insulation with painted drywall sheets secured with 1-inch drywall screws.
When creating outbuilding creation plans you can provide for some fairly simple precautions to drastically cut your chances of your shed being vandalized. Fit your door and window with good bolts and make sure that you lock it every time. If your outhouse is visible from your home you can install lighting which can be triggered by movement sensors. Check fences and hedges bordering rural properties to identify weak spots that could provide easy access to criminals. Use curtains to cover any windows to conceal valuable materials when you aren’t using your outbuilding.
Outside door hinges should be secured with coach bolts instead of normal screws. Mark valuable items with your house number and postcode using a UV pen or paint. If your property is stolen it will be easier to identify and return with your identifiable markings. Reinforce your outbuilding from the inside to make it more resistant to a break-in. Ladders and spades should be secured to a strong fixed object as they can be used by thieves to gain access to other areas.
Roof trusses consist of a prefabricated assembly of two rafters fastened (https://shedconstructionplans.com/8x12-clerestory-shed-plans) to a ceiling joist. For maximum durability all trusses should fastened with support plates made of plywood. When placing the trusses in your roof you should place them over wall studs. Manufactured roof trusses in standard sizes are inexpensive and easy to use. Call your local lumberyard for prices and options regarding roof trusses.

You will need to install power in your shed as it not very practical to run an extension cable to it from your home every time you need power. The number one rule when working with wire and electricity is to be safe. Easy and especially safe cables to use when running electricity are steel wired cables or SWA. If you don’t want an ugly cable snaking its way along your outhouse you can run it underground. Choosing to bury your wiring requires that you place it a minimum of 3 feet underground.
Try adding solar panels in order to either replace electrical wires or to supplement your power. Direct light must reach the solar panel for most of the day in order to provide sufficient energy. Buy roof mounts for your solar panel to help you easily affix it to the outhouse’s roof. When running the cable from the solar panel be sure that it is not cruouthouse or bent. Wind turbines can also be a useful source of power for any outbuilding when there is less solar power available.

Insulation can be harsh to work with so always wear a dust mask and gloves. First find the dimensions of the inside of the walls starting from the floor (pop over to this web-site) to the ceiling. A type of starter lining called an airflow barrier is basically just a piece of fabricated plastic. Anyone can install plastic lining plus it is really simple to handle. The treated plastic keeps the inside of the shed warm while blocking any cold drafts. To install you simply need to wrap sheets of the air barrier around the interior walls of the shed and tack in place.
If your outdoor outbuilding building blueprints ask for more insulation and padding the airflow barrier works well as a foundation. To guard against gases and other vapors it is a good idea to use fiberglass insulation. Using fiberglass requires that you cover it with another layer as it is irritating to the skin. You can conceal the insulation with painted drywall sheets secured with 1-inch drywall screws.
When creating outbuilding creation plans you can provide for some fairly simple precautions to drastically cut your chances of your shed being vandalized. Fit your door and window with good bolts and make sure that you lock it every time. If your outhouse is visible from your home you can install lighting which can be triggered by movement sensors. Check fences and hedges bordering rural properties to identify weak spots that could provide easy access to criminals. Use curtains to cover any windows to conceal valuable materials when you aren’t using your outbuilding.
Outside door hinges should be secured with coach bolts instead of normal screws. Mark valuable items with your house number and postcode using a UV pen or paint. If your property is stolen it will be easier to identify and return with your identifiable markings. Reinforce your outbuilding from the inside to make it more resistant to a break-in. Ladders and spades should be secured to a strong fixed object as they can be used by thieves to gain access to other areas.

